My Store
Efficient PC Cooling Fan 2/4/6 Heat Pipe CPU Cooler Processor Installing LGA775 115x 1200 1700 1366 1356 i3 i5 i7 PWM Air-cooled
Efficient PC Cooling Fan 2/4/6 Heat Pipe CPU Cooler Processor Installing LGA775 115x 1200 1700 1366 1356 i3 i5 i7 PWM Air-cooled
Couldn't load pickup availability
SPECIFICATIONS
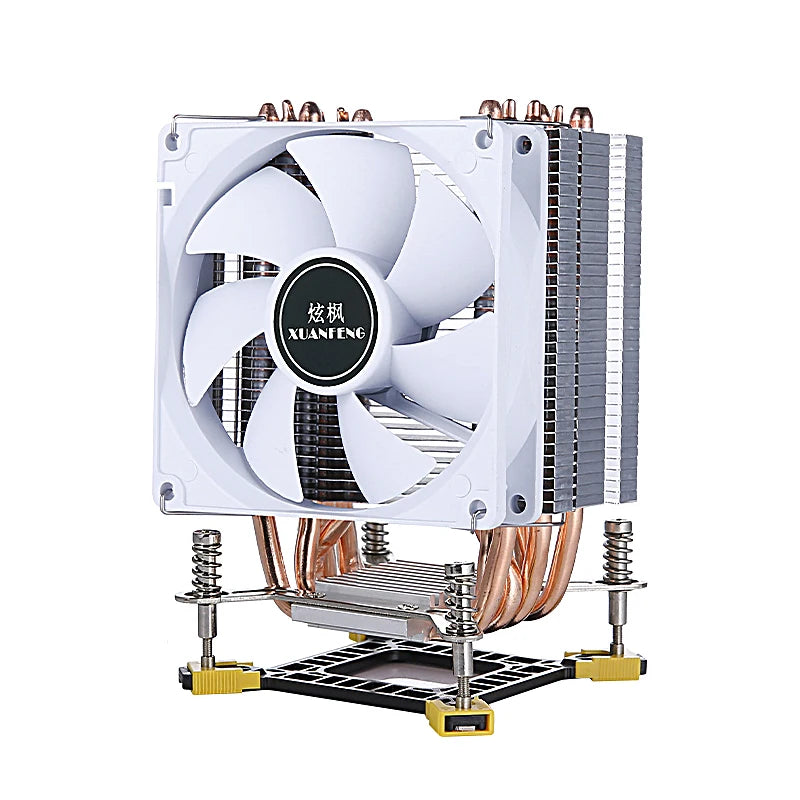
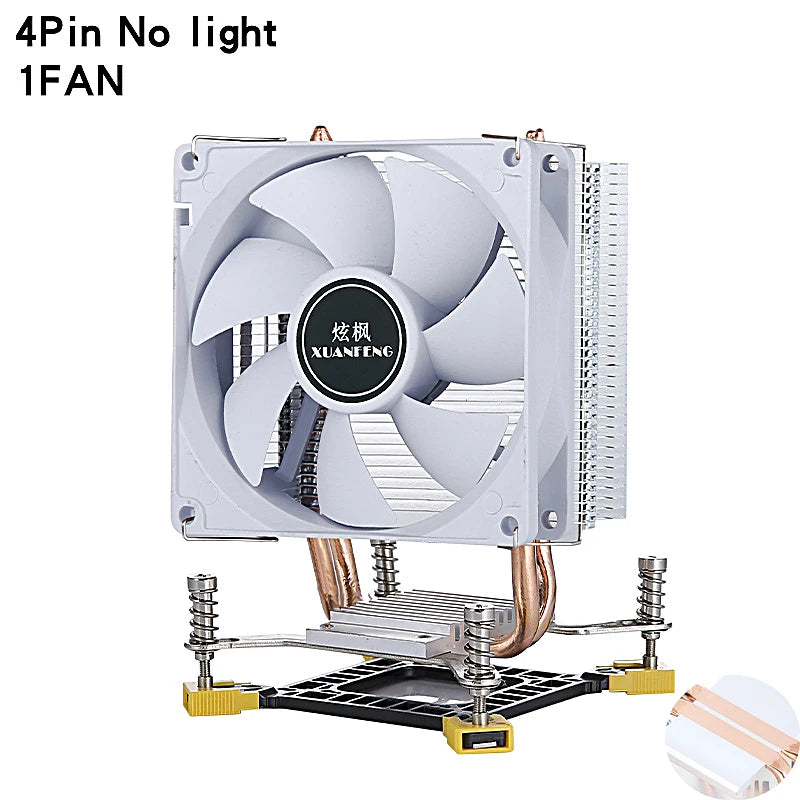
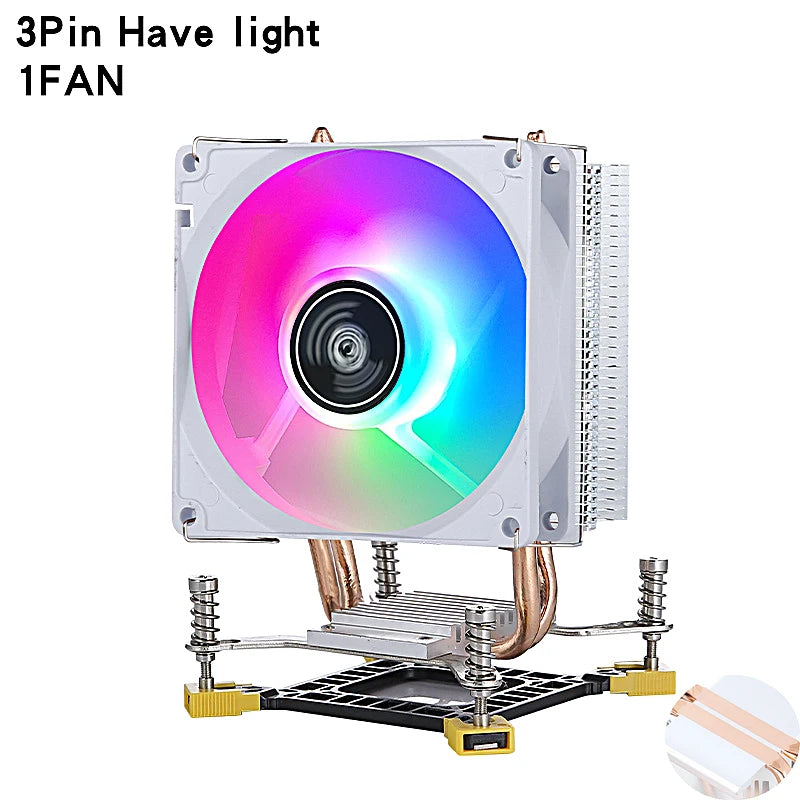
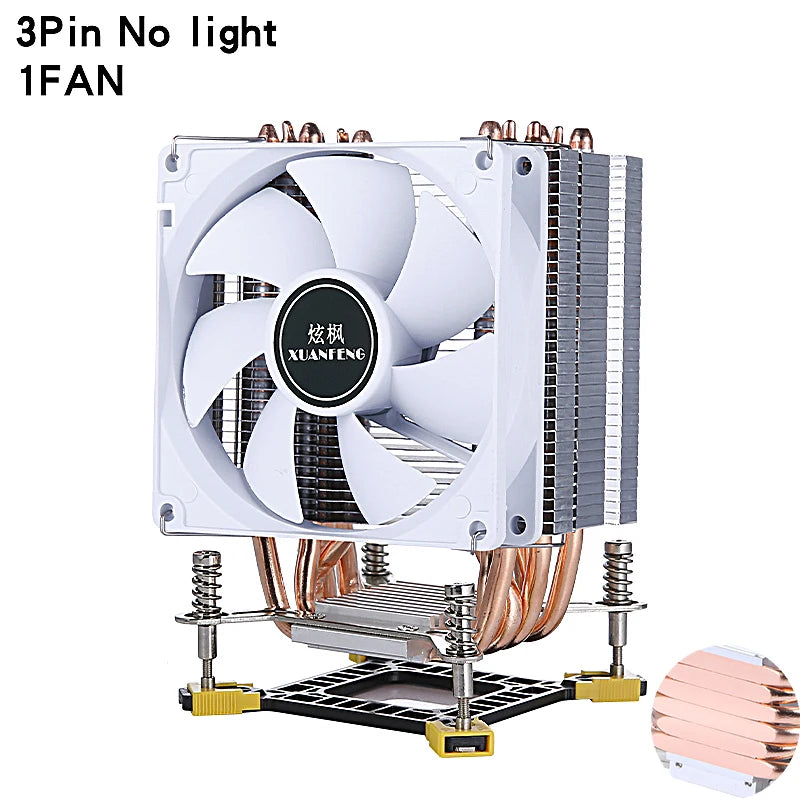
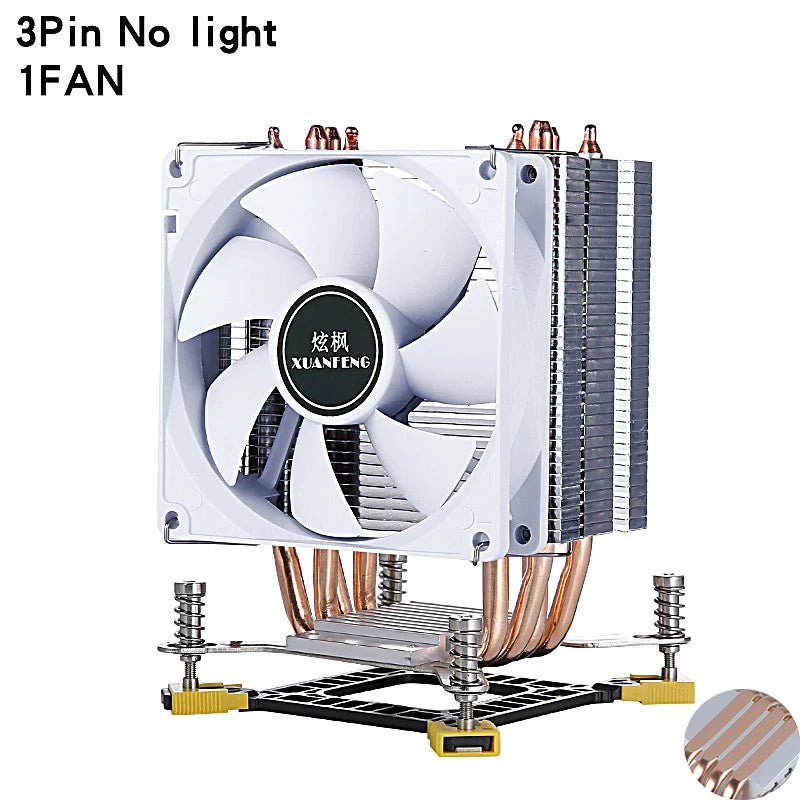
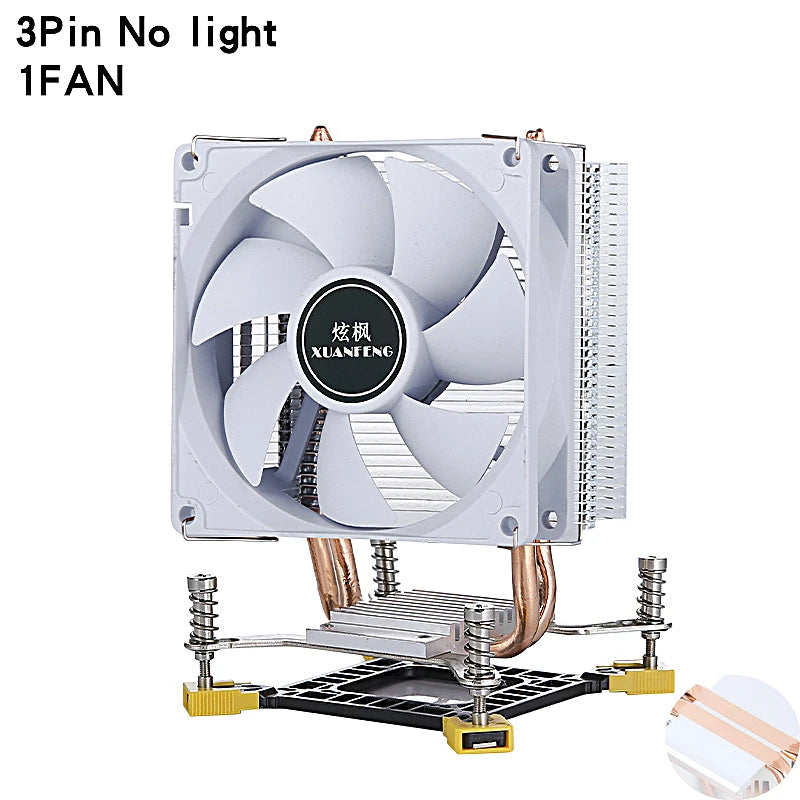
2 Heat pipes 1 Fan TDP: 90W
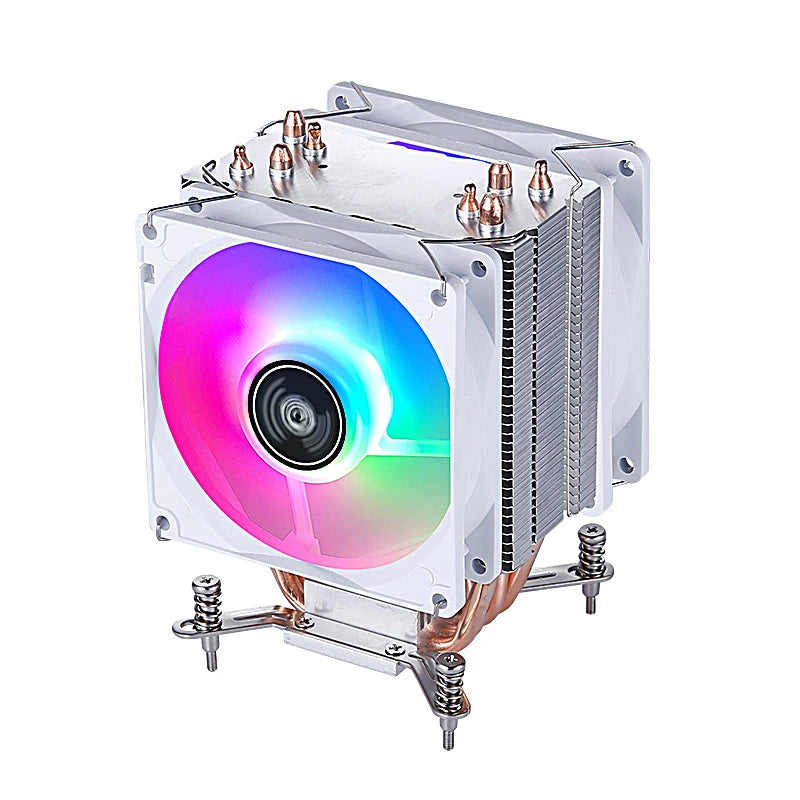
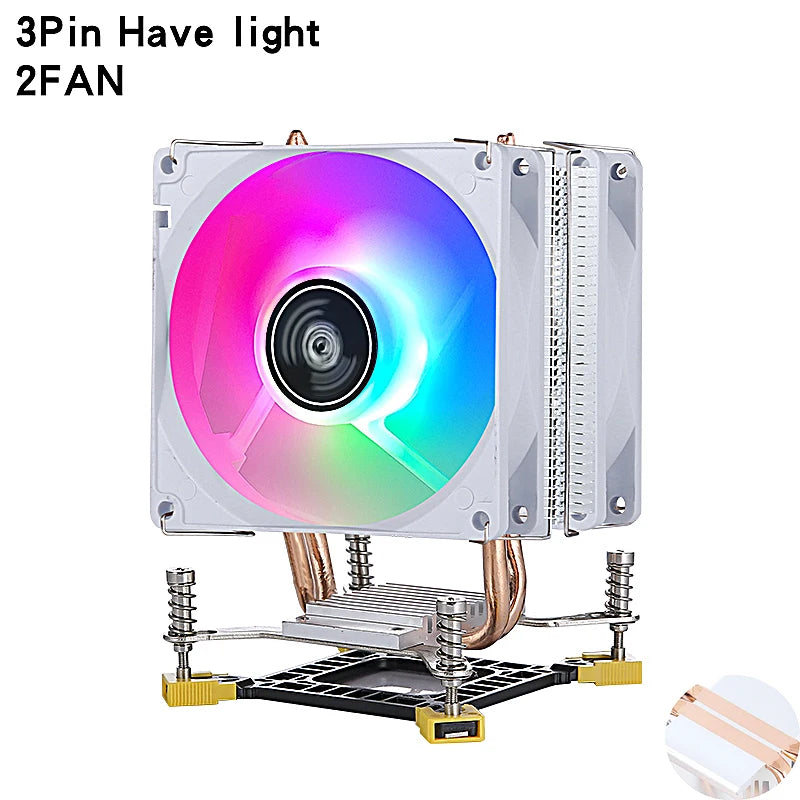
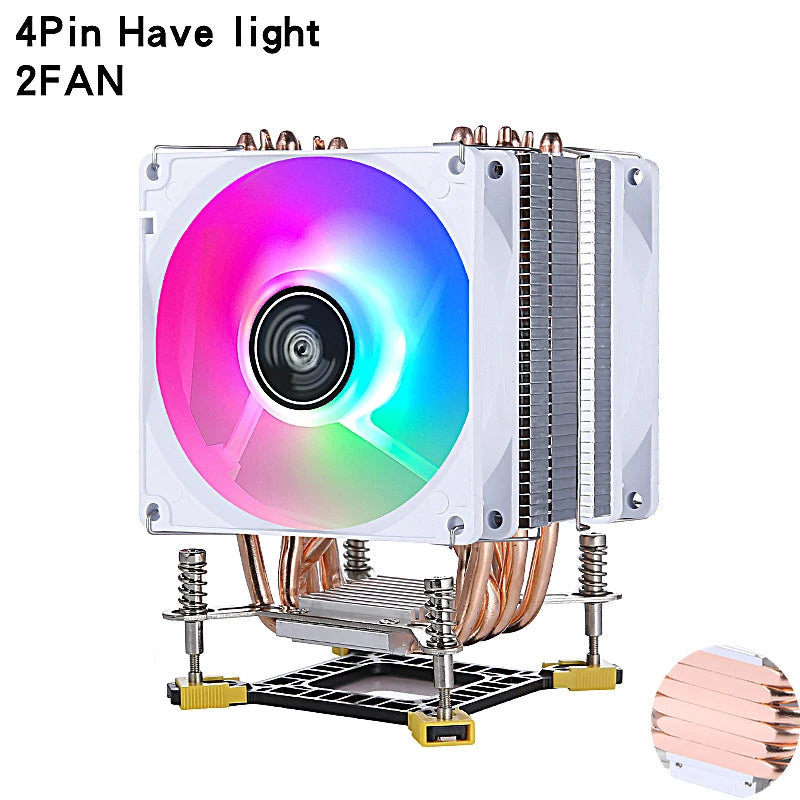
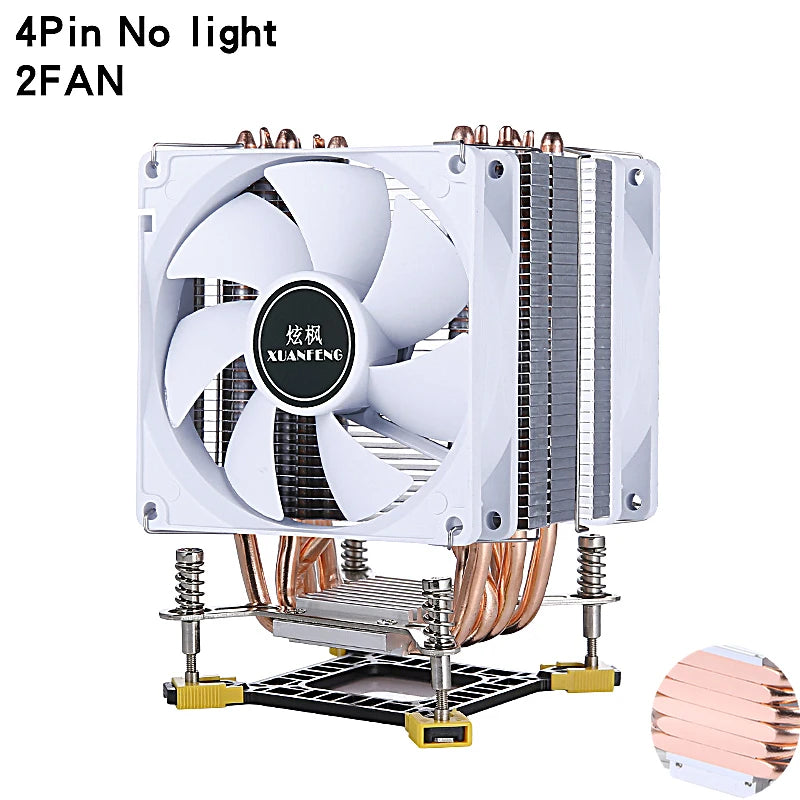
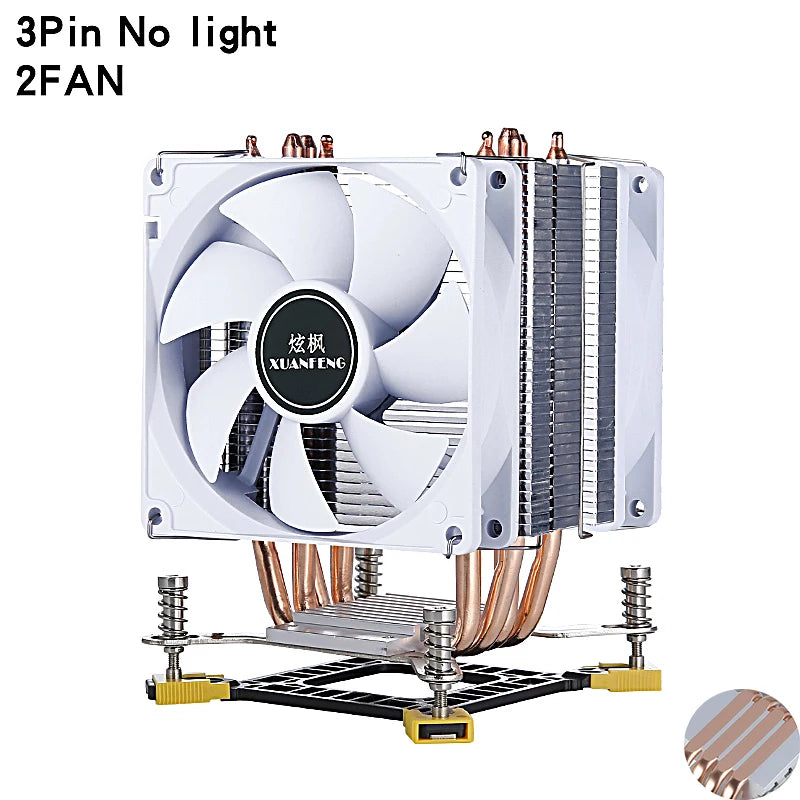
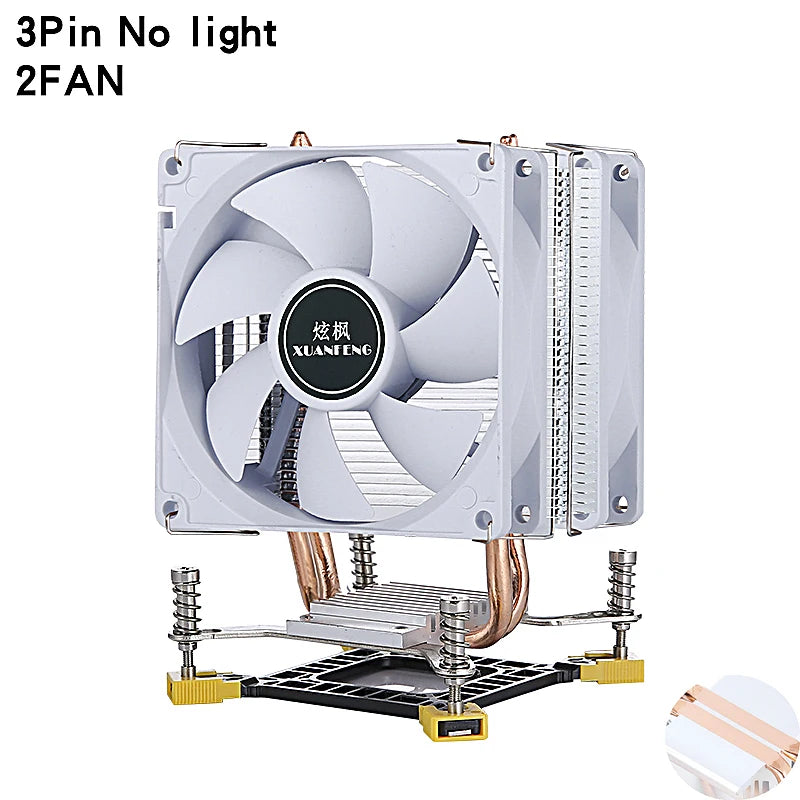
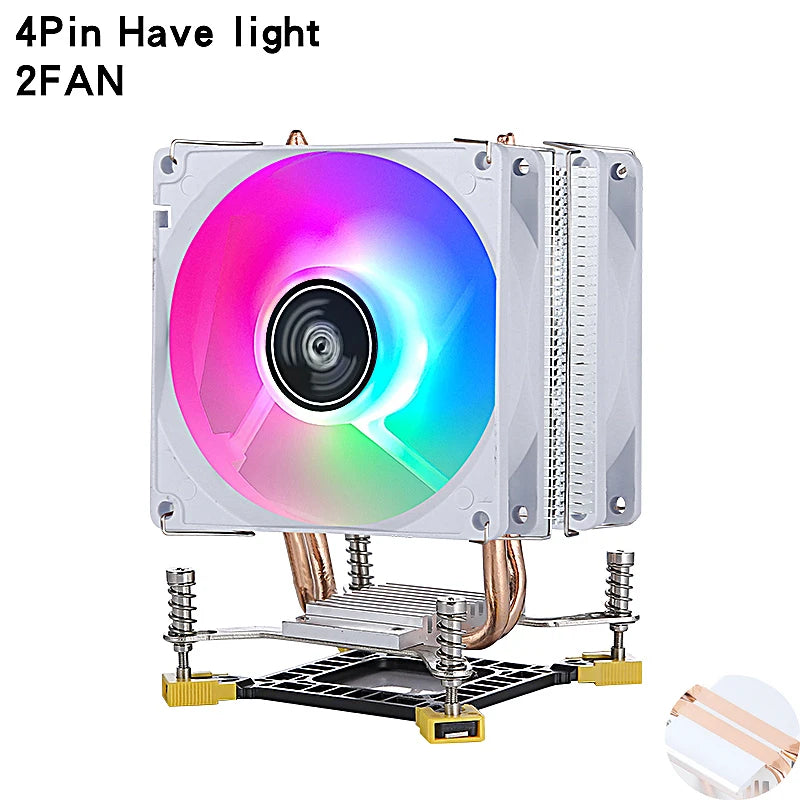
2 Heat pipes 2 Fan TDP: 100W
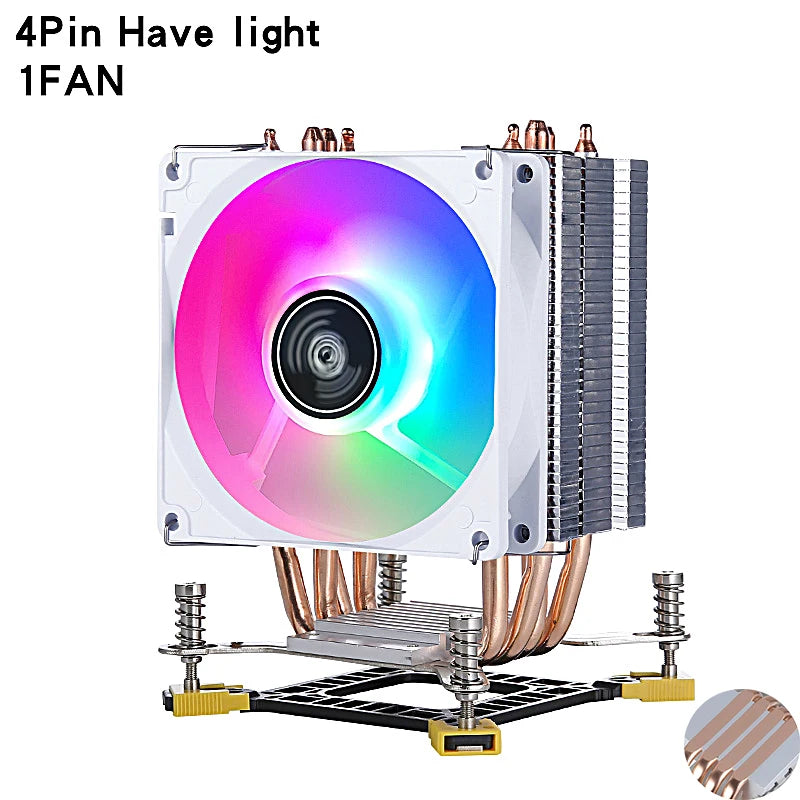
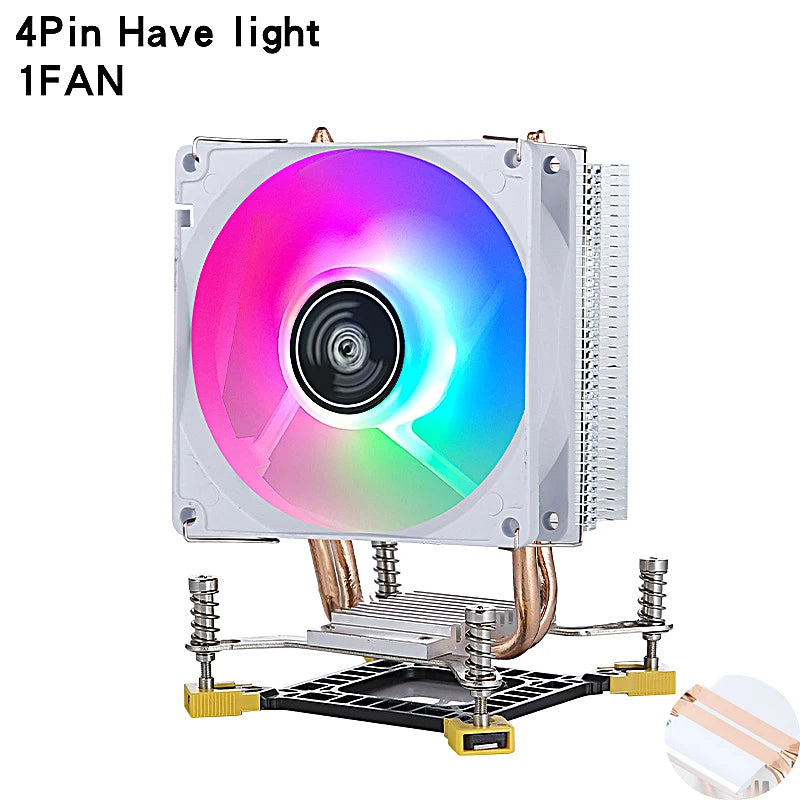
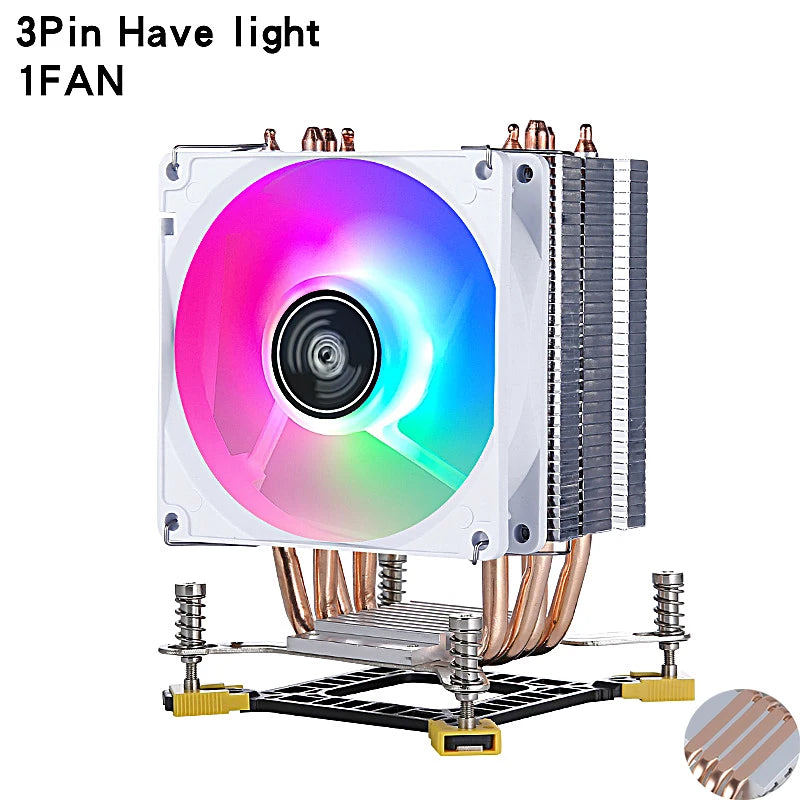
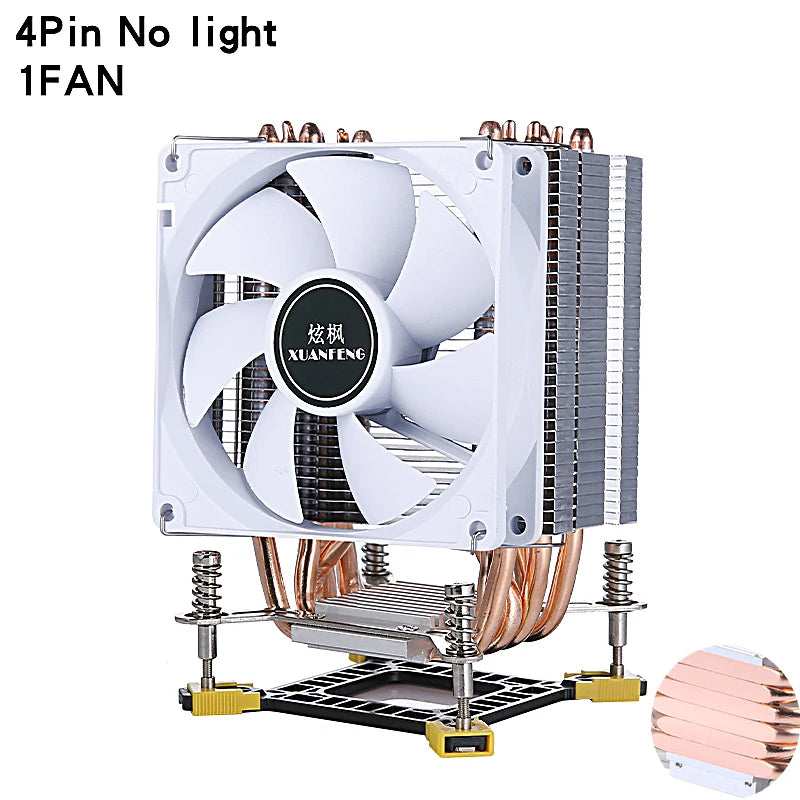
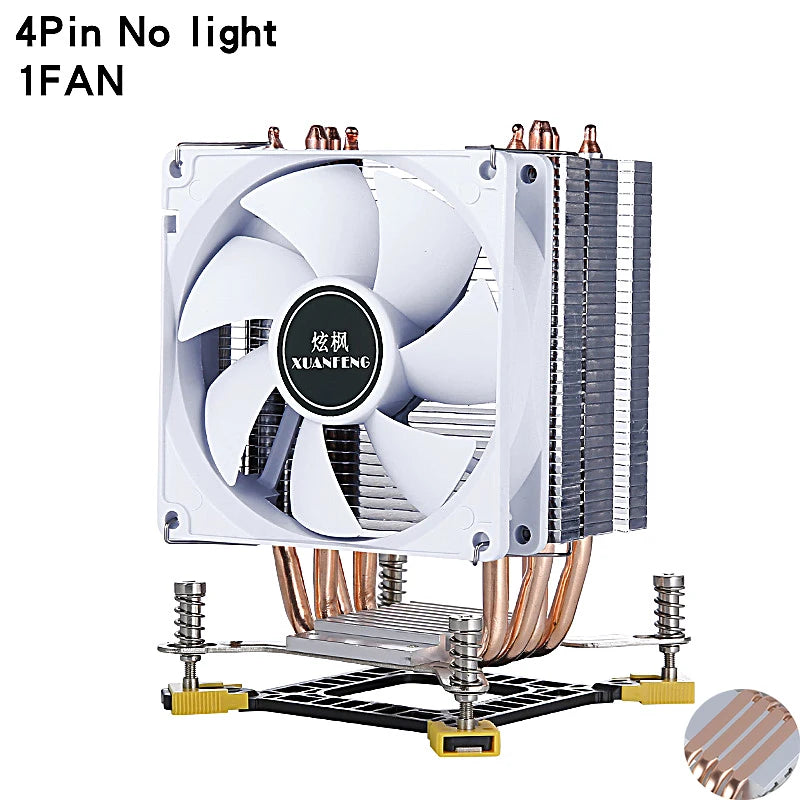
4 Heat pipes 1 Fan TDP: 120W
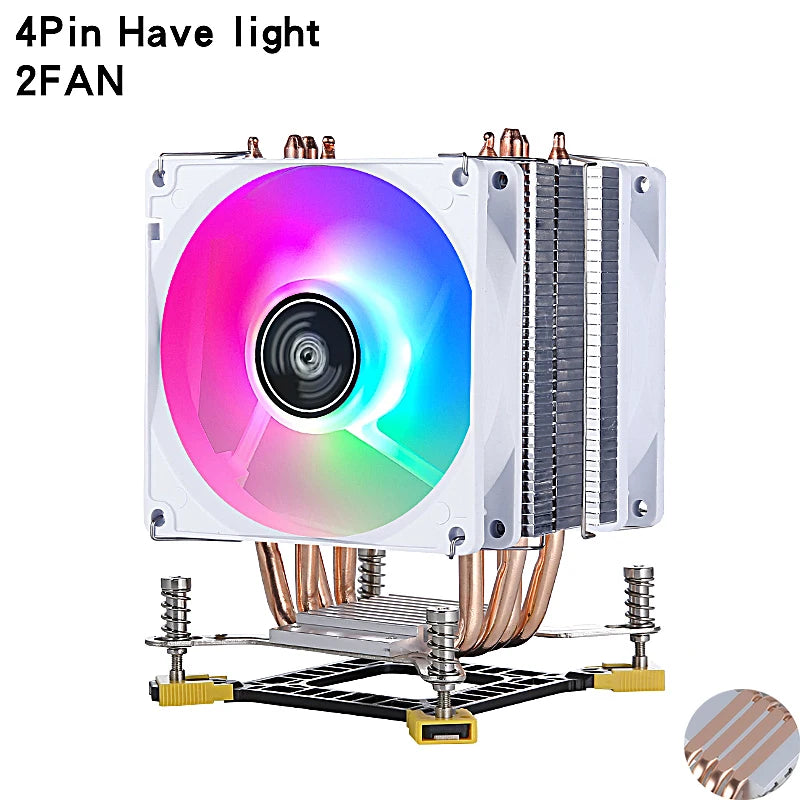
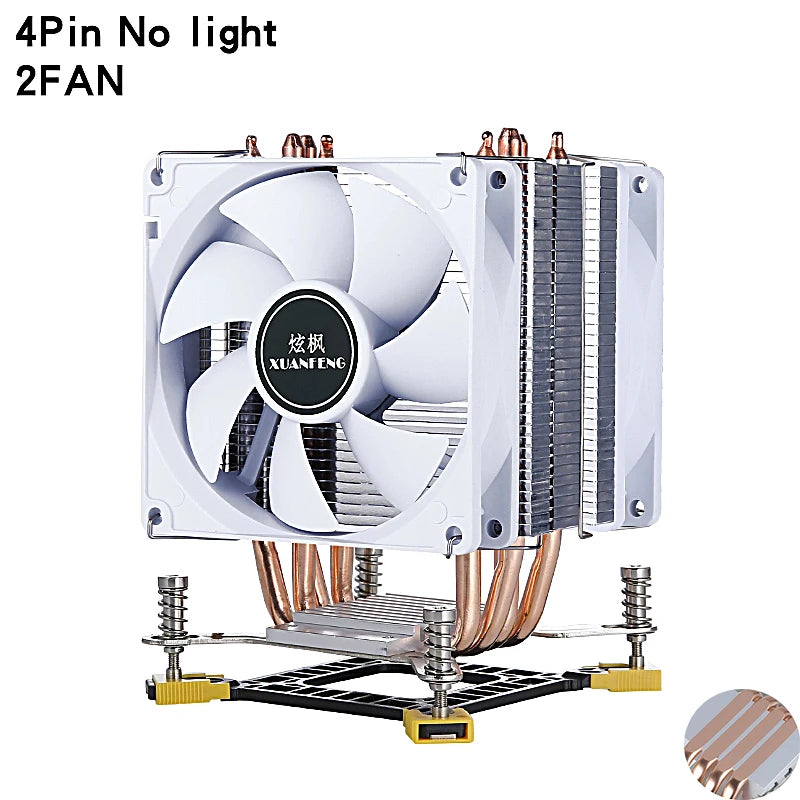
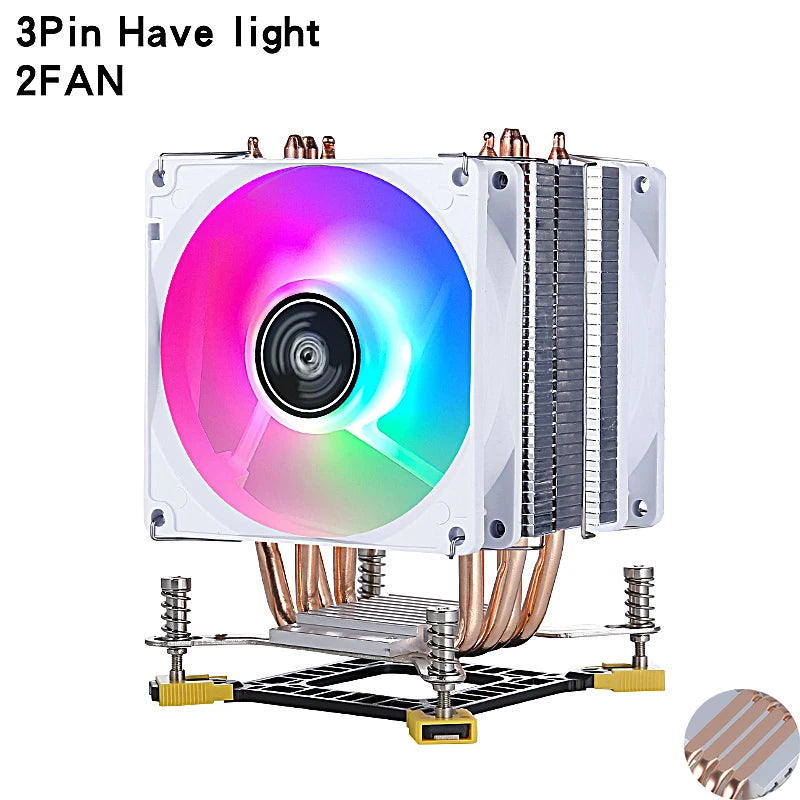
4 Heat pipes 2 Fan TDP: 130W
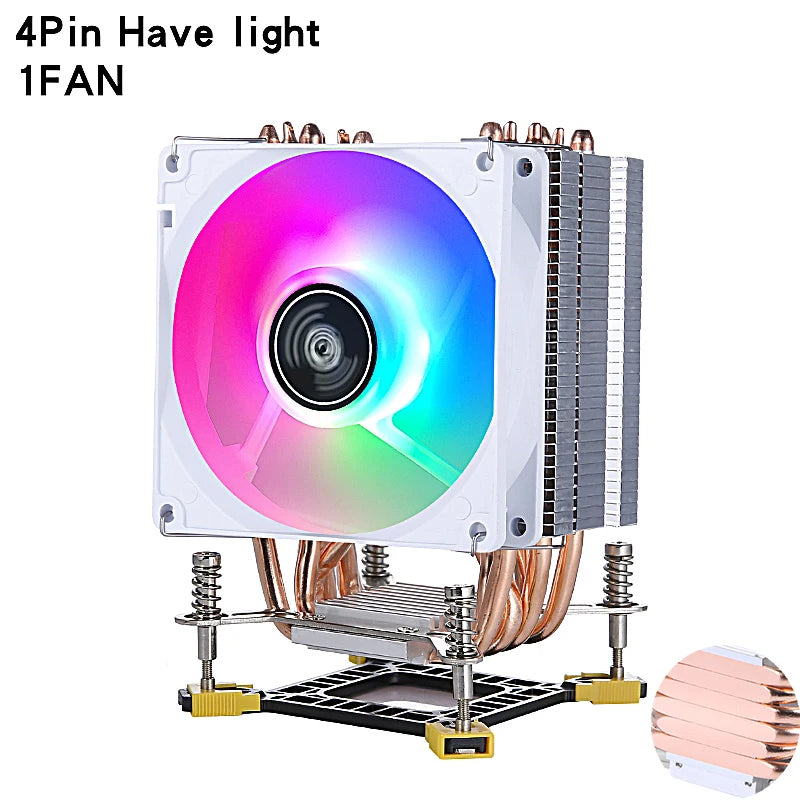
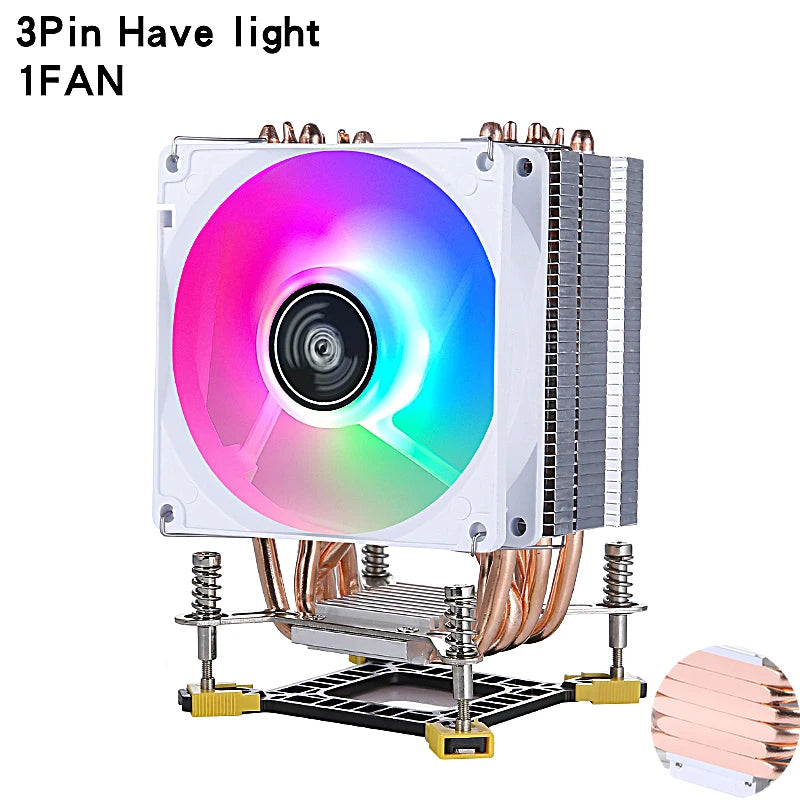
6 Heat pipes 1 Fan TDP: 135W
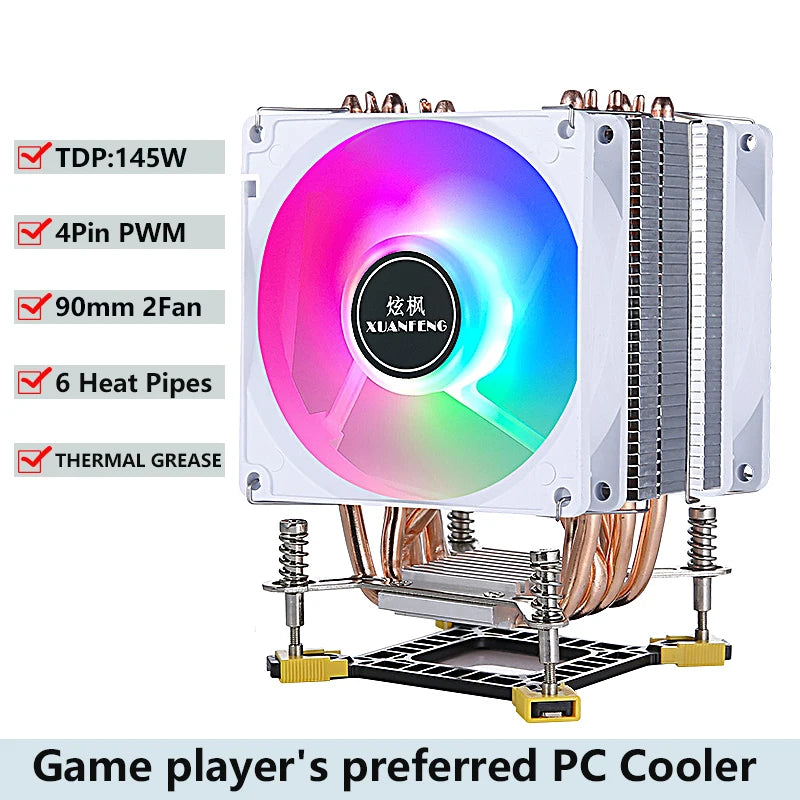
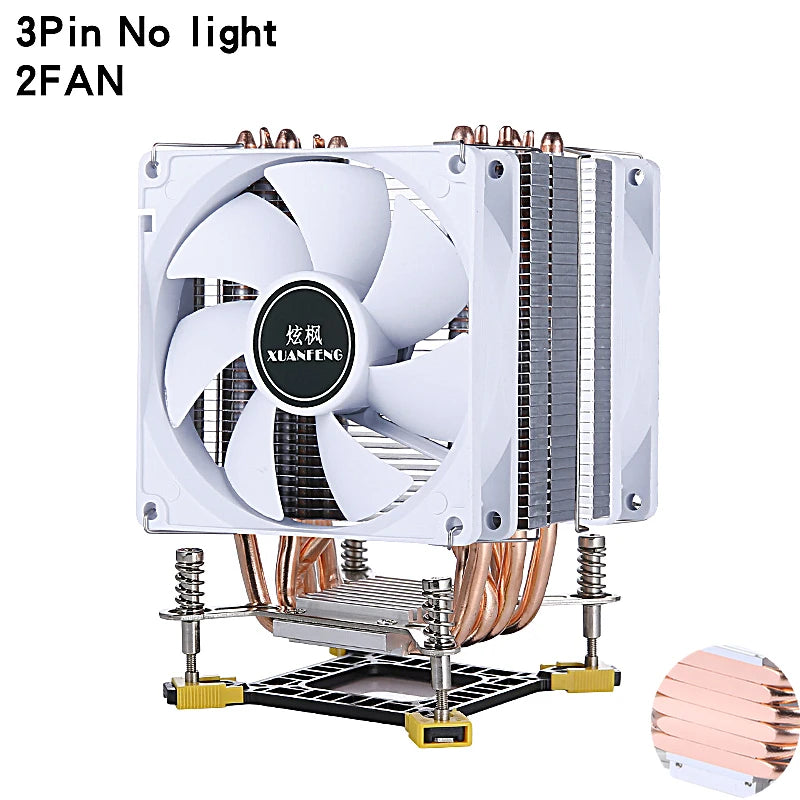
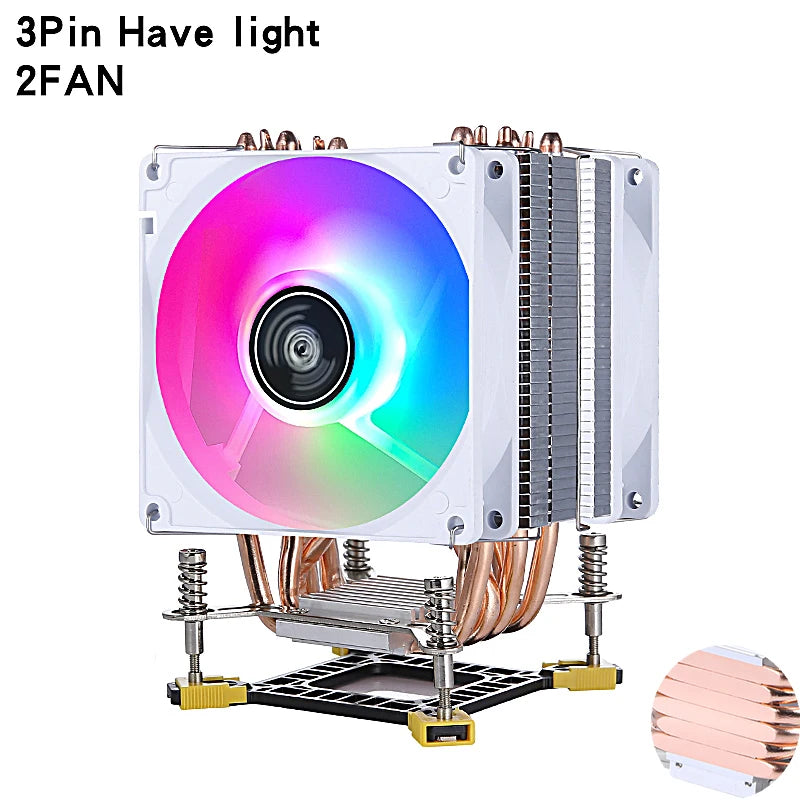
6 Heat pipes 2 Fan TDP: 145W
Air Volume: 60
Bearing: Fluid Bearing
Blade Quantity: 7
Brand Name: XUANFENG
Choice: yes
Cooler Type: Tower
Fan Life: 50000 hrs
Fan Size: 90
Fan Speed: 800 - 2000
Intel Socket: LGA 775/1150/1151/1155/1156/1200/1700/1356/1366 ( i3 i5 i7 )
Lines: 3Pin or 4Pin
Model Number: XF-BK
Noise: 25dBA
Origin: Mainland China
Package: YES
Power Interface: 3pin/4pin
Series: XF-BK
Supported CPU: LGA 775,LGA 1150,LGA 1151,LGA 1155,LGA 1156,LGA1200,LGA 1356,LGA 1366,LGA 1700
TDP: 145
semi_Choice: yes
Product brand: XUANFENG
Product name: CPU cooler fan
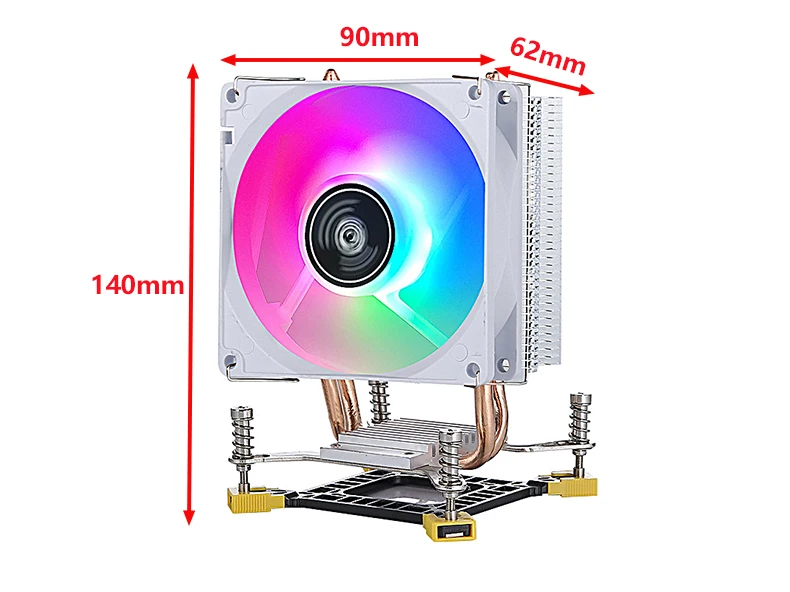
2 Heat pipes 1-Fan Product size: 90 (length) * 62 (width) * 140 (height) mm
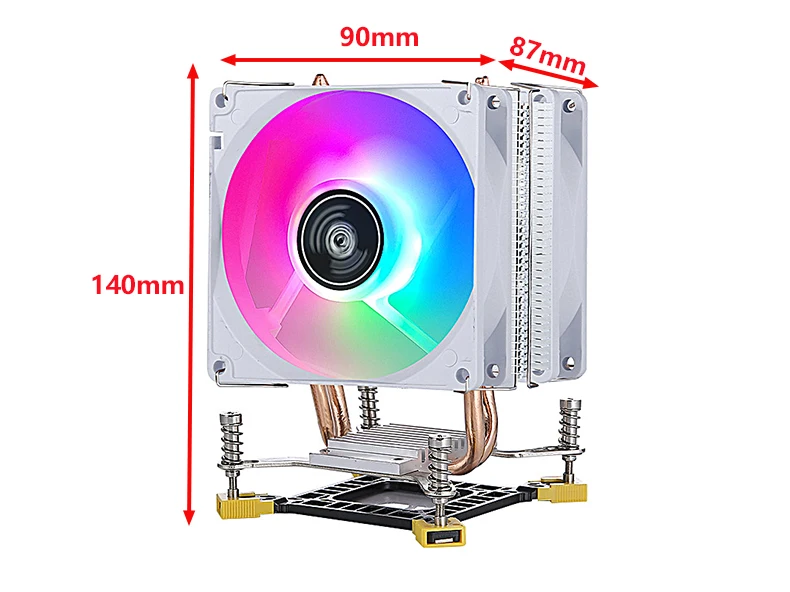
2 Heat pipes 2-Fan Product size: 90 (length) * 87 (width) * 140 (height) mm
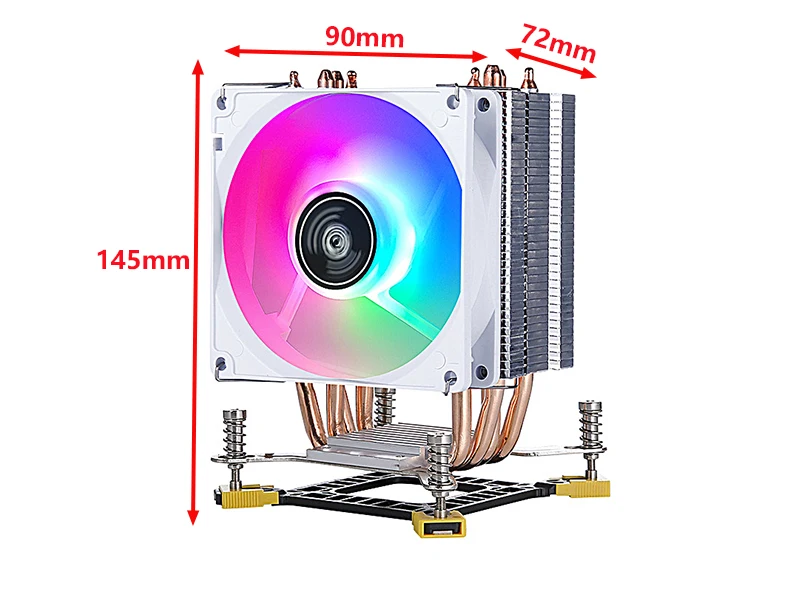
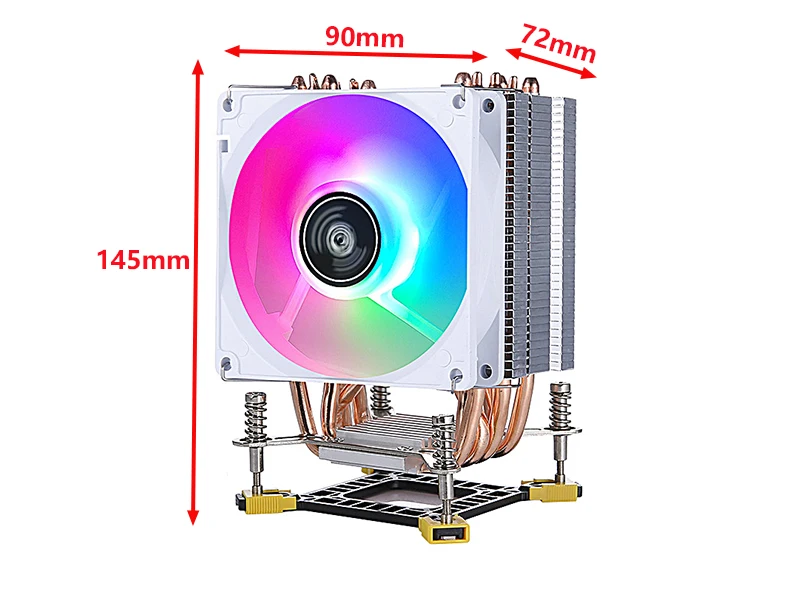
4 Heat pipes 1-Fan Product size: 90 (length) * 72 (width) * 145 (height) mm
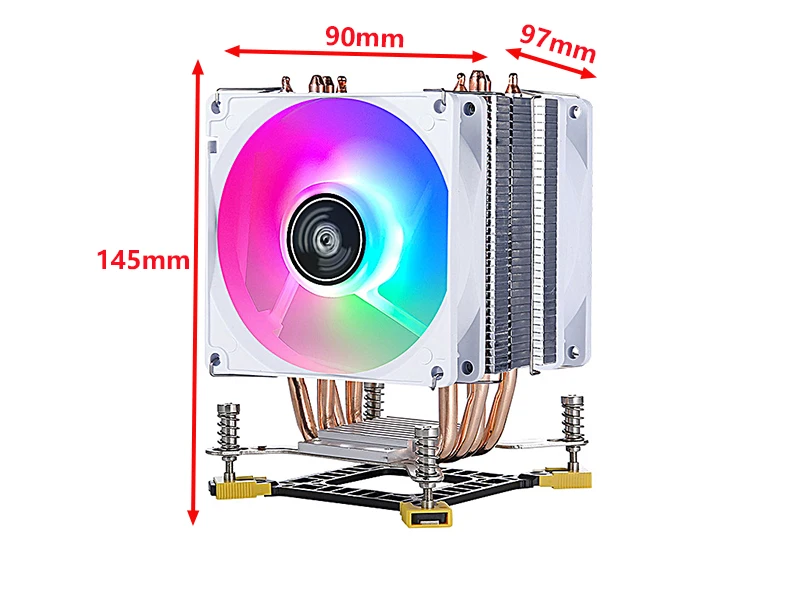
4 Heat pipes 2-Fan Product size: 90 (length) * 97 (width) * 145 (height) mm
6 Heat pipes 1-Fan Product size: 90 (length) * 72 (width) * 145 (height) mm
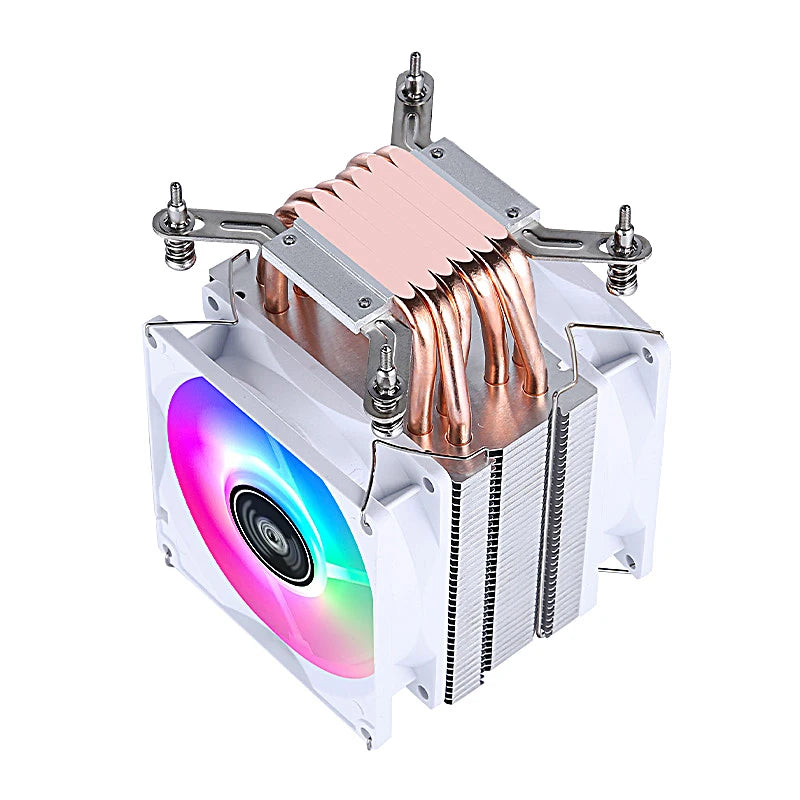
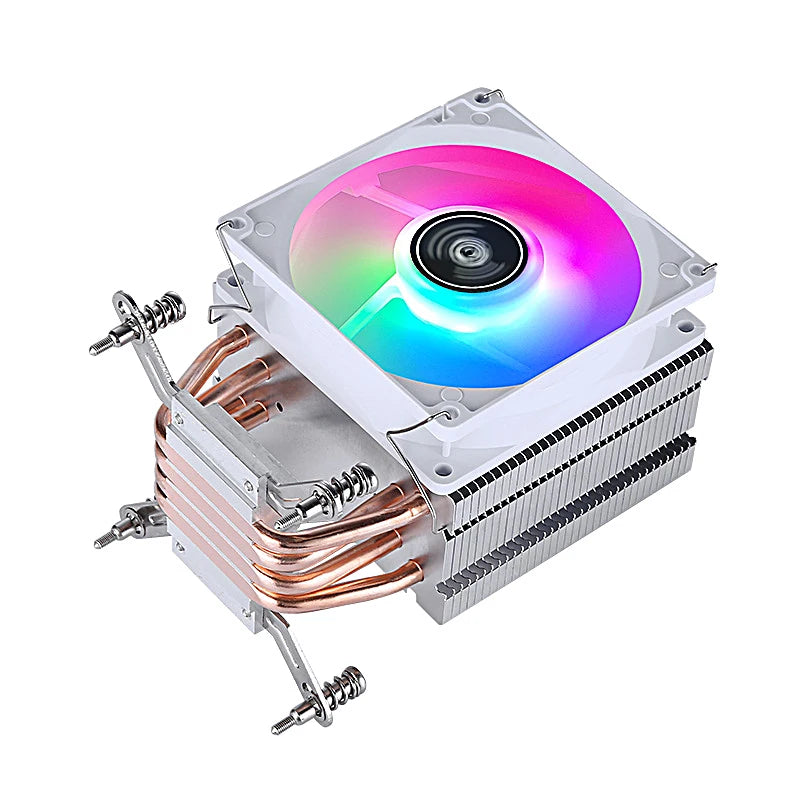
6 Heat pipes 2-Fan Product size: 90 (length) * 97 (width) * 145 (height) mm
Fan size: 90 * 90 * 25mm
Heat pipe specification: 6mm * 2/4/6 pieces
3-wire speed: 2000 RPM ± 10%
4-wire speed: 800-2000 RPM ± 10%
3-wire current: 0.18A without lamp, 0.28A with lamp ± 10%
4-wire current: 0.1A without lamp, 0.2A with lamp ± 10%
3-wire power: 2W without light, 3.5W with light ± 10%
4-wire power: 1W without light, 2.5W with light ± 10%
Noise control: 25dBA
Air volume: 60CFM (maximum)
(The above data is for one fan. If there are multiple fans (air volume, noise, current, power), the data will increase.)
Fan bearings: hydraulic bearings
Working voltage: DC 12V
Process materials: copper and aluminum
Working life: 50000 hours
Fan interface: 3Pin (3-wire constant speed)/4Pin (4-wire temperature control)
Fan wire length: 30CM ± 10%
Packaging method: boxed
Note:
Due to manual measurement, different measurement methods and tools, there may be slight dimensional deviations.
Due to differences in lighting, angle, and display, images may not reflect the actual color of the item
The following is an installation tutorial video for this product, hoping to be helpful to you. The products installed in the video are for reference only, but the installation method is the same.
Socket:
For Intel: LGA 775/1150/1151/1155/1156/1200/1700/1356/1366 ( i3 i5 i7 )
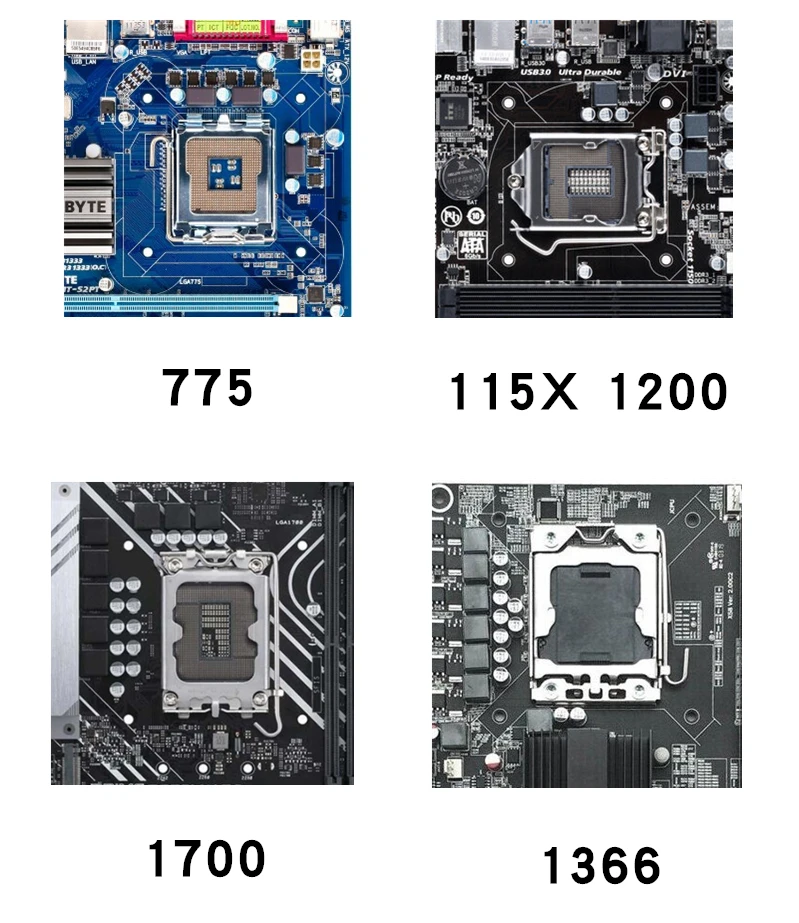

Regarding the selection of interface types
3Pin or 4Pin interfaces are universal and can be installed without worrying about interface types
Fixed speed type: 3-pin fan, fixed speed, large air volume, good heat dissipation, but there may be relatively slight wind noise
Temperature control board: The 4Pin fan will intelligently adjust the fan speed based on the current CPU temperature, which is energy-saving and silent. Extend service life! (The motherboard needs to support and enable PWM speed regulation function, which is basically available on all motherboards)

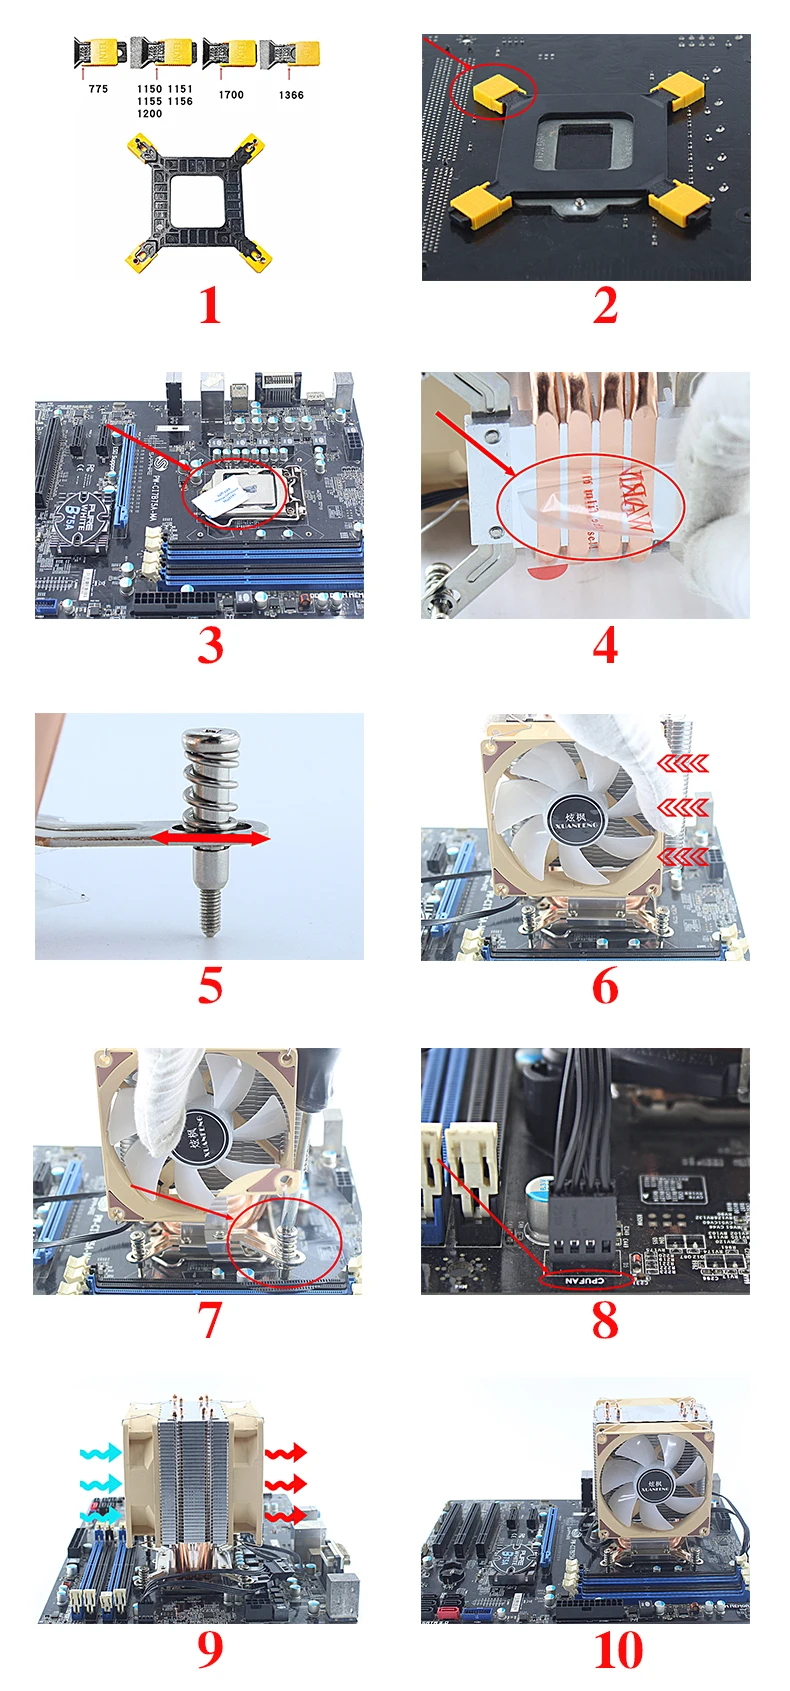
The following is a tutorial on installing the LAG: 775/115x/1200/1700/1356/1366 CPU cooling fan. The product in the picture may be different from the one you purchased, but the installation method is the same.
1. As shown in the figure, suitable for installation: LGA: 775, 1150, 1151, 1155, 1156, 1200, 1700, 1356, 1366 (i3, i5, i7), etc.
2. As shown in the figure, adjust the backplane to the appropriate position for the motherboard and place it on the back of the motherboard.
3. As shown in the figure, open the thermal conductive silicone grease and evenly apply it to the surface of the CPU.
4. As shown in the figure, remove the protective film at the bottom of the radiator before installation.
5. As shown in the figure, the screw can be freely moved and adjusted.
6. As shown in the figure, gently push the fan inward to leave space and place a screwdriver tool for installation.
7. As shown in the figure, use the characteristic of screw movement to align the screw with the backplane on the motherboard, and then use tools such as a screwdriver to tighten and install it.
8. As shown in the figure, there is no need to worry about different interfaces for CPUFAN. 3Pin/4Pin universal.
9. As shown in the figure, the blue arrow represents the air inlet, and the red arrow represents the air outlet.
10. As shown in the figure, the installation is completed.
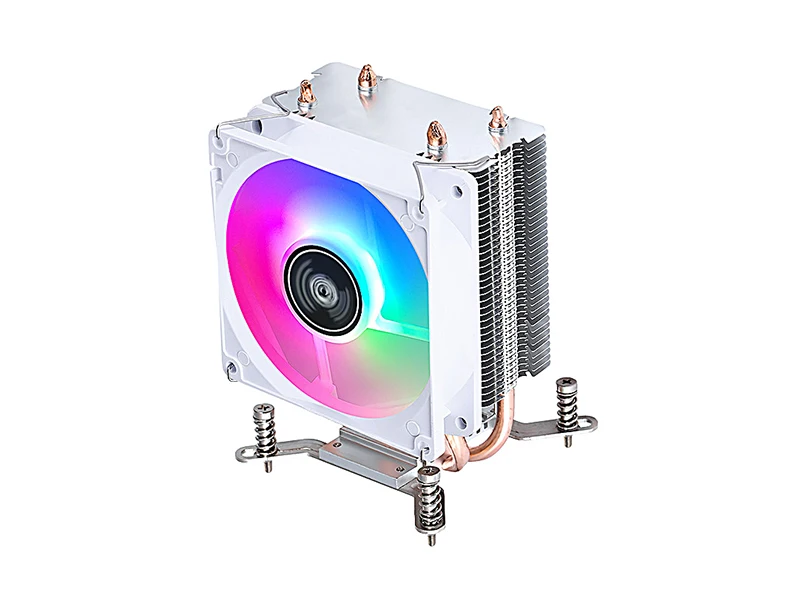
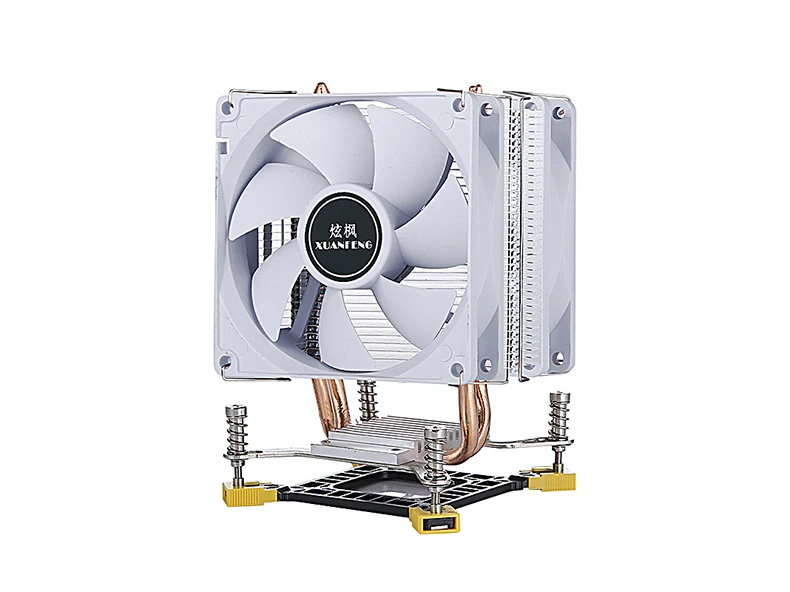
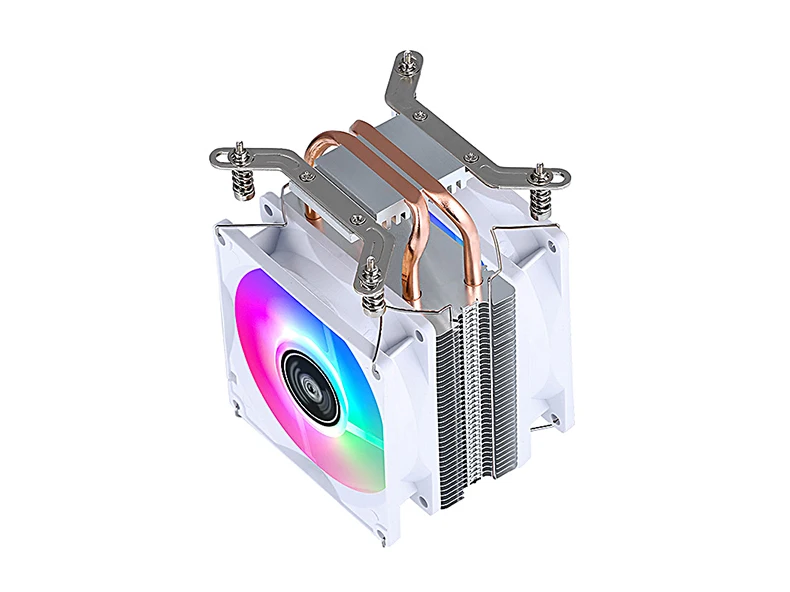
2 Heat pipes 1 Fan


2 Heat pipes 2 Fan

4 Heat pipes 1 Fan
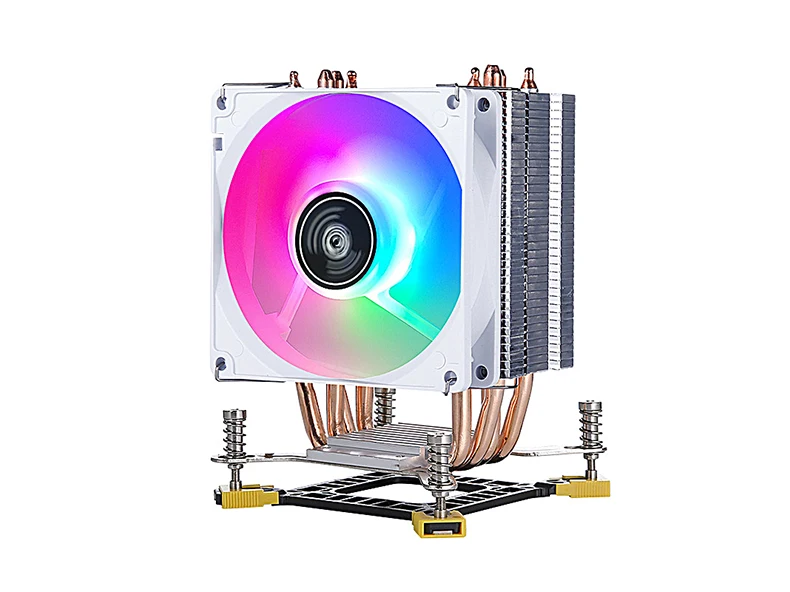


4 Heat pipes 2 Fan


6 Heat pipes 1 Fan

6 Heat pipes 2 Fan


Share
